

Pulse (heart beat) Project ()

One of the most popular projects I've ever done has been the pulse sensor and over time I've had more than one request to make it battery powered, do a 'proper' circuit diagram and make it more permanent (i.e. remove from the breadboard). So, the time has come. This is a completely new article and you don't need to read.....
Ultrasound Range Finder ()

A video is available that supports this article , click below Parts List Arduino Nano OLED screen 128x64 pixels (but you could use smaller) SSD1306 driver HC-SR04 ultrasonic sensor Some wires and a breadboard Introduction to Ultrasonic Sensors These are used to detect objects in front of them by sending out a ultrasonic pulse of sound (sound with a.....
Arduino Space Invaders - Making on Stripboard ()
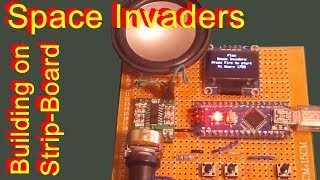
Let's move our project from the breadboard to strip-board to give it a more permanent home. You will need 30x30 hole strip-board (30 width is a common size). Strip-board is the prototyping board that has rows of copper strips as apposed to perf-board which just has copper pads. I prefer strip-board also sometimes referred to as veroboard (veroboard is a.....
October Thank you's ()

October was a quieter month due to work and illness but support continued despite the lack of content on both this website and the associated you tube channel. So thanks to Chris L. for his long-standing support. Late October/early November has started well with two videos in a few days and 2-3 articles uploaded and another being worked on as.....
Adding amplified sound - simple version ()
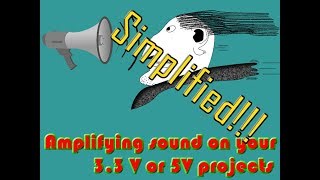
The last article on adding louder amplified sound to your projects went into a lot of detail so that you could add amplified sound to any of your projects even if it didn't quite fit the examples being shown. Downside was that it could get a little complex for some, with various factors that need to be considered in order.....
Space Invaders : Adding a speaker ()
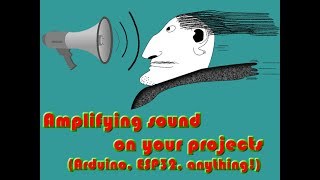
We have already shown how to add a simple piezo speaker to the Space Invaders project but what about a bit more umpppphhh..... We need a bigger speaker which the Arduino cannot drive directly, to solve this we need to add an audio amplifier and in this case it's in the shape of the PAM8403 chip. These can be bought.....
Driving a Speaker ()
Driving a Speaker - Adding an Audio Amplifier (Adding the PAM8403 to a MCU) Piezo speakers (see here) are great where you don't need high quality or loud sound or indeed where space is at a premium. But for anything else a small (or even large speaker) is the only thing that will do. However our little micro-controllers (no matter.....
September Thank-you ()
September has come and gone and Autumn draws near and time for the Thank-you's. This month I'd like to say thank you to long term supporter Chris L. and also Steven Y. With work commitments slowing down posts and videos these contributions mean a lot to keep me going as it shows a thank you, which is very much appreciated,.....
256x320 Colour LCD (5408 driver) ()
256x320 colour LCD screens are widely and cheaply available and very often come on a board that we can connect up to an Arduino Uno (and some other boards types). It's then just a simple manner of adding the required libraries and trying out an example. This is all we are planning to do in this article, just to get.....
August Thank you's ()
Bit late on this post due to holiday/vacation so sorry for that. Again appreciate the support, love doing the content but the donations help to get some feedback from people, which is great and help towards hosting the site. For August I'd like to say thank you to Shurie B. and Chris L. Thanks very much for your support. Always.....